Being a stay at home mom when my children were growing up, I was able to be involved in all of their elementary school holiday classroom parties.
*
For Halloween these are some of the party games I created.
With three children I used them again and again over the years..... at school, church and home, and the kids always had a great time.
*
I would divide the room up into stations so the kids could quickly travel around the room as they pleased to the various game stations or just stay and play the same one over and over. The more games, the shorter the wait lines so the kids stayed entertained.
*
I always had just 2 rules to play:
After you've taken your turn,
1. you must collect the game pieces and hand them to the next person in line, and
2. you must always go to the end of the line to continue to play.
*
First up is.......
JACK-O-LANTERN BEAN BAG TOSS
 Draw a large Jack-O-Lantern using a whole sheet of orange posterboard. I cut and glued yellow construction paper for the eyes and nose. Make the mouth as large as possible so the kids can easily throw the bean bags through it. Remember we just want it to be fun and not overly challenging. Then glue onto sturdy cardboard or foam core board. Cut out the mouth.
*
Here is a closeup. Cut PVC pipe and use an elbow joint to make 2 L-shapes. Taped to the back of the giant pumpkin with packaging tape to allow it to stand up.
 Stitch together a few bean bags. Printed fabric squares filled with dried split peas, beans or squirrel corn are easy and quick to make.
I used felt and cut little bats and pumpkin shapes here
Stitch together a few bean bags. Printed fabric squares filled with dried split peas, beans or squirrel corn are easy and quick to make.
I used felt and cut little bats and pumpkin shapes here.
 And the bat flies right in! YEAH!
 WITCH'S HAT RING TOSS
 You will need 2 sheets of black posterboard. With one sheet roll into a cone shape, tape or hot glue and cut the wide end to even off. Measure across the open end of the cone. With the 2nd sheet of posterboard cut as large a circle as possible using the entire sheet. You will make this into a donut. The center hole measurement should be just a little smaller than the open end of the cone that you measured earlier.
 The donut can then slide onto the cone and will rest just above the floor, no gluing or taping is needed. It's easier to store and/or transport to the party place when it is in two pieces.
 For the rings to toss, cut strips of colored posterboard and staple together. You probably need to double up the posterboard here so it holds its shape and itn't too flimsy when tossed and goes over the hat easily.
 BLACK CAT CROQUET
 Draw a hissing scary cat with bristled hair, arched back and curved tail out of foam core board.
 Cutting the head out separately and attaching with hot glue just gives it a little more dimension. Here's a closeup of the face, with all the construction paper features
.
 Cut the feet like this with a vertical slit the width of the foam core.
 Cut two more "feet" with the same type of slits so they fit together like this allowing the cat to stand up
.

 In the game of croquet you must get your croquet ball to roll through the wire arches. Here the object is to swat a ball under the cat's arched back using a witches broom.
 MUMMY BOWLING
 I saved up some 1 quart size plastic milk bottles.
First I cut a strip of peachy colored construction paper and drew eyes with black marker. Then wrapped strips of gauze around the eyes and randomly around the bottle making sure to include knots and loose ends. This kind of gauze was the kind that stuck to itself, so was very easy to do.
 A small plastic pumpkin or skull head can be used as the bowling ball.

 TOUCHY FEELY BOXES
 Use an empty box with a lid such as a shoebox or laundry detergent box.
 *
Cut a small hole on one end of the box just large enough to reach into to feel the contents of the box.
*
Cover the box with wrapping paper. You will need to wrap so that the lid can be opened to put the feely things inside before the party. On the end where the hole has been cut, drape with a piece of fabric so as not to reveal the contents of the box and you will be reaching in blindly.
*
Decorate the box so as to start the imagination as to what might be in the box.
*
~ GUMMY WORMS BOX ~
I decorated one box by hot gluing gummy worms all over the top of the lid. Inside the box I placed a dish of cold spaghetti that I had cooked the night before, so this, of course, felt like .....WORMS!!!!!
This box will get a lot of EEEEEEEEWWWW!!!!!!!!s, screams, squeals and giggles.
*
~ SPIDERS BOX ~
Another box I decorated with little pompom spiders and hot glue webs.
 Here's a closeup of the little pompom spider with pipecleaner legs.
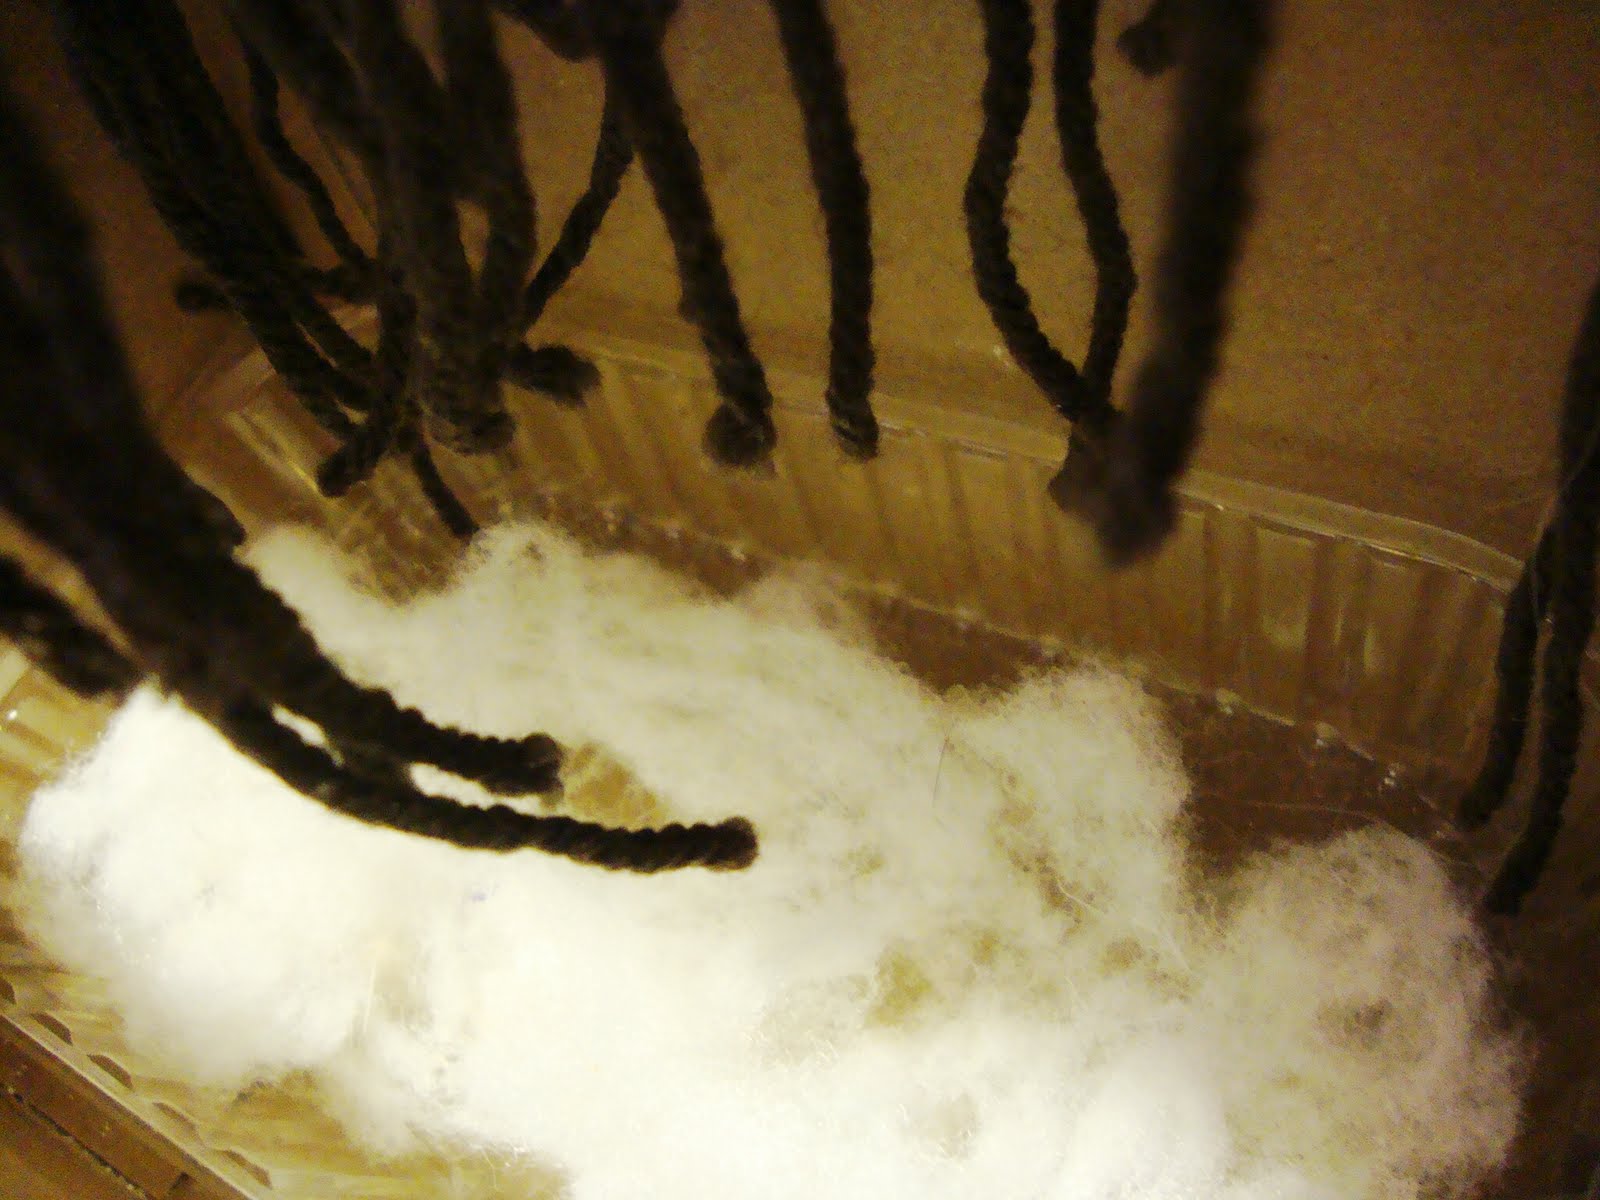
 Inside, I wanted it to feel tickley and crawly all over your hand and wrist as you reached in, and then soft and stringy too like spider webs so I hot glued pieces of yarn to hang from the lid.
 And in the bottom of the box was some polyester fiberfil like you would stuff a pillow or plushie with.

~
EYEBALLS BOX ~
I decorated another box with eyeballs. I think I started out with foil covered chocolate eyeballs then switched them out when we got these plastic eyeballs floating in liquid with some fast food kids meals.
In this box I placed a dish of peeled grapes so it would feel like slimy eyeballs. hee hee More squeals and giggles here, hands come jerking out!!!
*
It's a good idea to have a roll of paper towels handy for wiping slimy hands. I don't know whether it's more fun to be the "feeler" or the" observer". Everyone watches with anticipation and wants to know what's inside but is hesitant after watching the reactions of those ahead of them. I always let the little ones know it wasn't anything that was going to hurt them and would usually whisper or let them peek inside the box after they were done feeling. This usually resulted in more laughs and a sense of trust and relief.
*
If you have young children or grandchildren, I hope you have found some ideas here that you can use.......
.......I'd love to hear about it in a comment,
......will Feature you if you post about it!
*
Have a Happy Halloween!
Keep it Safe and Fun!
*
*