Pages

Sunday, November 30, 2014

Mason Jar Lid Christmas Tree Ornaments


Hello, I'm so glad you've come to visit today.
Please pour a cup of tea and come with me.

I'd like to show you some tree
ornaments I've made from 
Ball Mason Jar Lids.


I remember my mom showing me
how to make a simple ornament for
our Christmas tree when I was young.

We used canning jar rings and lids,


and a Christmas card mailed to
our family the previous year.


We laid the lid over an image 
on the front of the card,
traced around it 
and cut it out.


We tied a piece of 
gift wrap curling ribbon around the ring,
 inserted the lid 
and hung the finished ornament
on the tree.


Well I've grown up now 
and so have my decorating skills.

Taking inspiration from my childhood
ornaments
and these glittery snowflakes
with Victorian images on
vintage sheet music backgrounds...


I've further embellished
my childhood basic ornaments 
by wrapping/decoupaging
sheet music paper around the jar lid ring.


 I've used art paper to line the inside
instead of the Christmas card image
and a circle of music paper to finish the back.


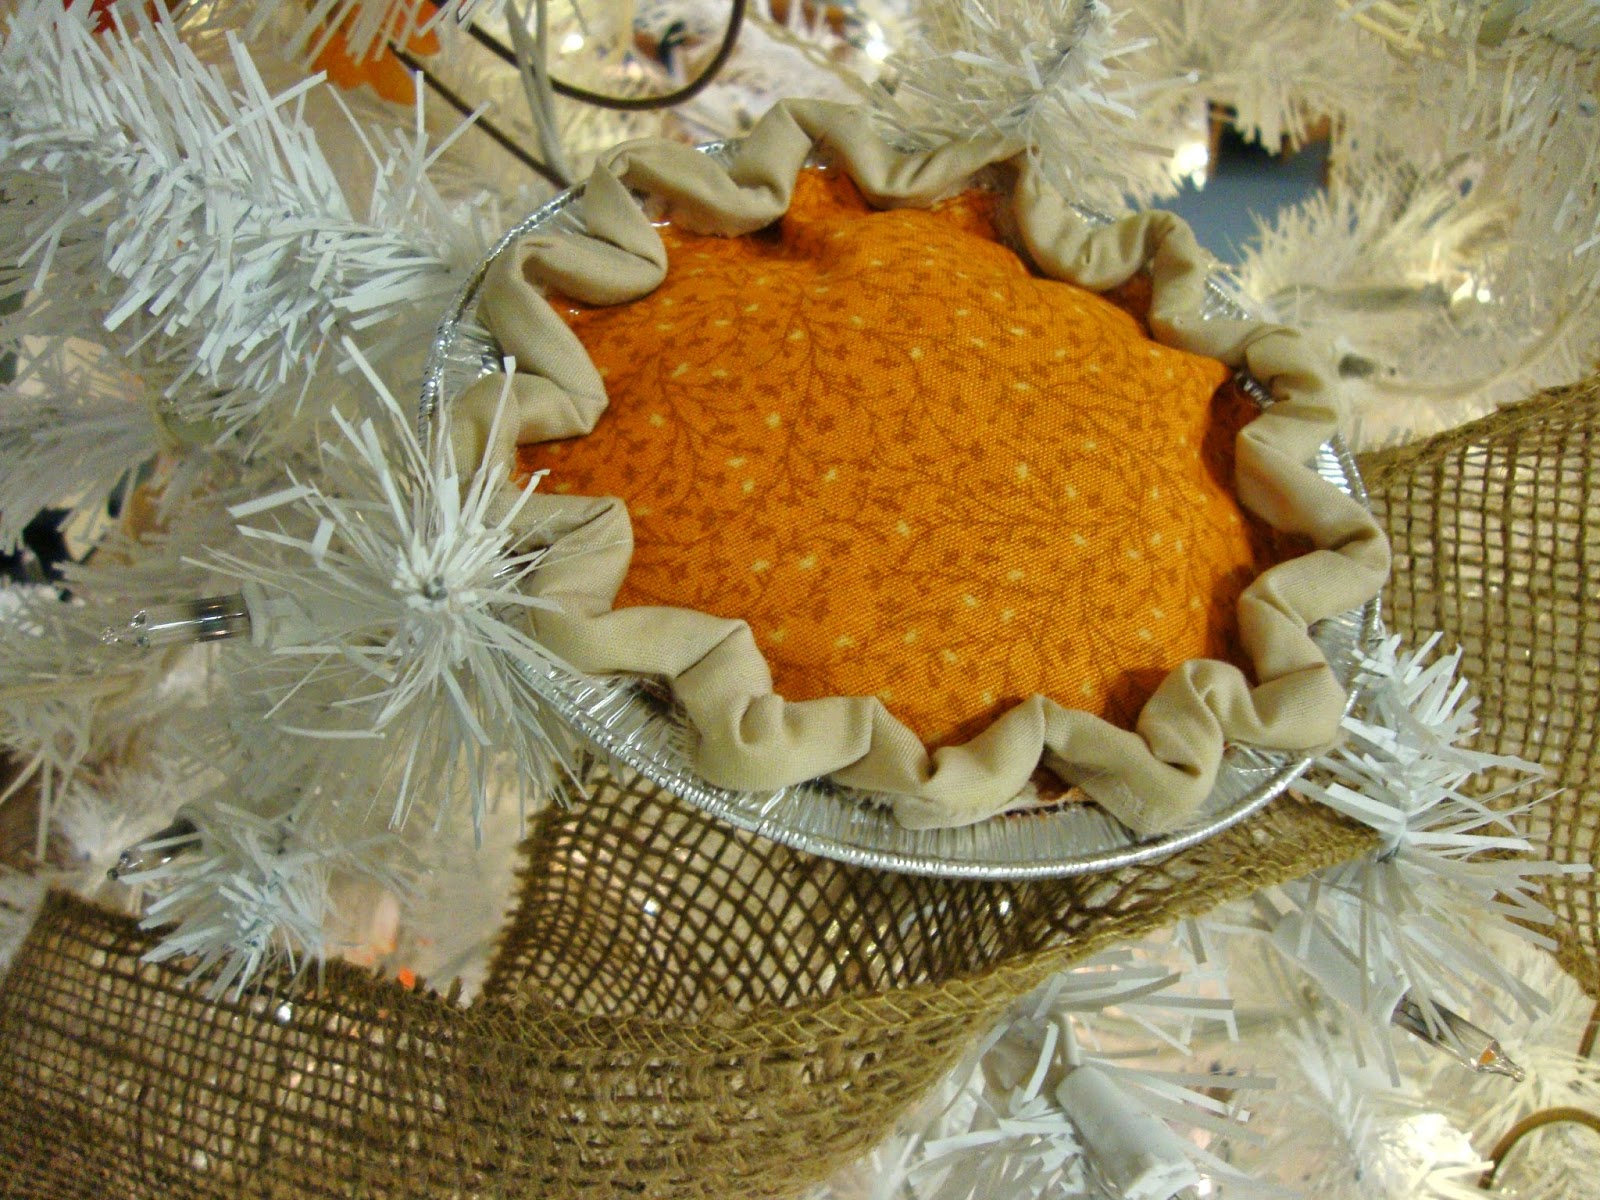
For these I've simply added some
greenery, berries and glitter
but you could create any kind
of little scene inside the lid.


I also added a little banner with a Christmas message
cut from a scrap of music paper,


alternately, you could use a Christmas card like this.


Here's another look at my two finished lid ornaments.


If I've inspired you to craft your own
ornaments from canning lids
please leave me a comment.
I'd love to see what you've done
and would like to "Feature" you
in an upcoming post 
with a link back to your original post.

Warm Hugs,
BettyJean

Thursday, November 27, 2014

Clothespin Snowman Tree Ornaments


I stumbled upon these
sweet little
covered clothespin snowmen
and decided I'd make a few for our
annual church Bazaar.

Click here ,or on the photo, to go to that post.


I dug out a package of clothespins
from my stash of craft supplies,

some natural batting to cover them, 

and black felt for the hats....


But, hmm...
the whole time I was
working with them
I couldn't help thinking
they looked like
....uh..
um.....like,
well, 
    
like tampons. 
Sorry,
I just couldn't shake that thought.

So I did a little alteration
and redesign.

Wrapping a little Fiberfil or polyester batting
around the bottom half of the clothespin
before covering him with the natural batting
gives him a little fuller shape.


I like it!

To make them even more
"my own",
instead of the hand-stitching the
eyes, nose and buttons
as in the inspiration clothespin snowmen,
I used embroidery floss french knots
 for eyes and buttons.
and used the pointy end of a toothpick
painted orange for a nose.
A homespun scarf
and a jaunty little black felt hat.

Update:  To make the hat, I cut a piece of black felt
3" long and 2 1/4" wide.
Folded in half.
The Folded side is the top of the hat.
It is now 2 1/4" wide and 1 1/2" top to bottom.
To resemble the top-hat with brim shape, I trimmed  
with scissors at an angle on both sides.  The trimmed hat piece should measure the same 2 1/4" on the bottom and angle up from both sides to the folded top to measure 1 1/4", so there is 1/2" cut off of each top side and angled down to the full 2 1/4" bottom of the hat.
I hope that makes sense, I don't have a photo.
Run a thin bead of hot glue to close both sides of the hat.
Inserted a bit of fiber-fil stuffing.
Then hot glued around the snowman head 
and positioned the hat.
Tied on a piece of jute twine to cinch the hat a bit and knot.


A little dusting of glittery "snow" on the hat,
and he's all ready to go to the Bazaar.


I'll be showing more
handmade Christmas ornaments
at our next Tea Party
so please, do plan to attend won't you.


Warm hugs,
BettyJean


Sunday, November 23, 2014

My DR Thanksgiving Tablescape and Thanksgiving Tree


Thank you so much for coming to visit today.
Won't you please come in...
Let's sit at the table and have tea.

The table runner and placemats
give the room such warmth with the
rich colors of Autumn.

My Thanksgiving Tablescape is
still a work in progress.

After searching for quite some time 
I was able to purchase a
turkey tureen last year just before Thanksgiving
complete with ladle
and I LOVE him!

I'd been wanting one with lots of color
without the expense of a Fitz &Floyd.
I am very pleased with my Jay's Imports finds.


You see, I already had a pair of S&P
of the same mold so I was
ecstatic to find the tureen.

This year just by happenstance
 I found the gravy boat. (sorry no picture)
My collection is coming together nicely.


For many years I've scooped up
the old Morton turkey planters
whenever I saw one thinking I'd
accumulate enough to have one for each place setting
just to hold a napkin or nut cup or something.

I have a set of 4 MarutaWare
cups and saucers.


So my search is on for dinnerplates
to complete the place settings.


 I'm on the lookout for pretty floral
brown transfer ware dinner plates
which prove to be a bit difficult to find.

Since I already had several Blue Willow dinner plates
I placed them under the cup and saucer.
I like how it
brings out the blue clouds
in the MarutaWare pattern.
A compliment and a contrast to allot of brown.

I also have a blue Thanksgiving themed
Johnson Bros. plate
so I added it to the center of the table
on a plate stand.


The scene includes a horse drawn wagon,
 a turkey and
 a border design of oak leaves and acorns.


My wooden pedestal bowl
is full to overflowing with 
pumpkins, gourds,
berries and fall-colored leaves
 on top of grapevines.


I was able to purchase a 6ft lighted
 Christmas tree for $5.00 at a Walgreens
after Christmas sale
which they'd used for display purposes.


I made this my Dining Room Thanksgiving Tree.
It's placed beside the grandfather clock
next to our open stairway.

I've trimmed it with giant pinecones, pumpkins,
acorns, silk sunflowers & chrysanthemums,
fall leaves, wheat, and used a 
bittersweet vine & rust-colored burlap bow 
as a tree topper.
Then wrapped a length of natural burlap 
around the bottom for a tree skirt.


A Very Happy and Blessed Thanksgiving to All,

Warm Hugs,
BettyJean

sharing at Sew Darn Crafty

Friday, November 21, 2014

The Decorated Thanksgiving Tree


To my burlap and leaf Fall tree
I've added the
Thanksgiving elements
from my previous posts
and here.

The turkeys I cut from paper plates,


The cornucopias
I constructed from placemats,


The little fabric pumpkin pies


And the very special thing about this
tree is that I've invited those
visiting our office to
tell us what they are thankful for
by writing on a leaf and then
 hanging it on the tree.


I'm get so excited when I
find a new leaf on the tree.

Such beautiful sentiments...


Happy and Blessed Thanksgiving
to  you all.

Warm Hugs,
BettyJean